Newsroom
Main quality inpsection methods for steel castings by Great Wall
2017-05-18 | Editor:
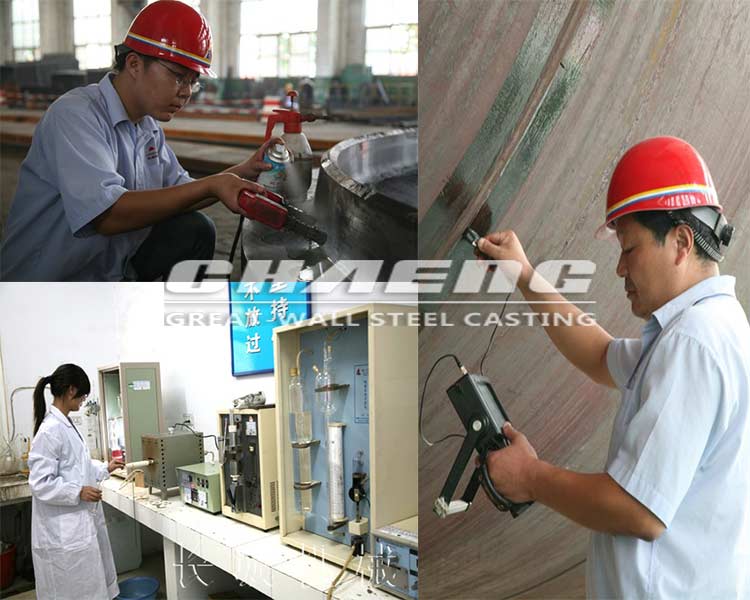
CHAENG (Great Wall Steel Casting) Performs strict quality inspections on steel castings including dimension inspection, visual inspection of surfaces, chemical composition analysis and mechanical property test. For the steel castings which require higher inspection standard or easily produce detections, nondestructive test is nacessary.
1. Inspection of defects on the surface and near surface of steel castings
1. Inspection of defects on the surface and near surface of steel castings
(1) Liquid penetrant inspection
Liquid penetrant inspection is used to inspect various breaking defects on the surface, such as surface cracks, surface pinholes and other defects which are hard to see by the naked eye. The commonly used penetration test is color penetrant detection, which soaks or spays high-permeability liquid penetrant (usually colored red) on the surface of the casting, then the penetrant seeps into breaking defect. Nextly, quickly wipe the surface penetrant liquid layer, and spray the display agents (also known as imaging agents) onto the casting surface. This method can reflect the shape, size and distribution of defects.
(2) Eddy current testing
Eddy current testing is suitable to inspect subsurface detects not deeper than 6-7MM. Eddy current testing can check the location and depth of defects.
The main drawback of eddy current test is that the size and shapes of defects can be displayed visually. And the detection sensitivity on breaking defects of eddy current testing is not good as that of liquid penetrant inspection.
(3) Magnetic particle testing
Magnetic particle testing is suitable to detect the defects on surface and the defects a few millimeters below the surface.
2. Inspection of internal defects
For internal defects, the most commonly used nondestructive methods are radiographic inspection and ultrasonic testing.
(1) Radiographic inspection (micro focus XRAY)
Radiographic testing, usually using X or gamma rays as a source of radiation, can display an intuitive image that reflects the type, shape, size, and distribution of internal defects.
(1) Radiographic inspection (micro focus XRAY)
Radiographic testing, usually using X or gamma rays as a source of radiation, can display an intuitive image that reflects the type, shape, size, and distribution of internal defects.
(2) Ultrasonic testing
Ultrasonic testing can also be used to check the internal defects. It takes use of high frequency acoustic beams transmitting inside the castings to detect and reflect defects when they come into contact with defects.
For large steel castings with big thickness, ultrasonic testing is very effective to check the location, equivalent size and distribution of internal defects.

Order online
Fill out your message and submit it . Options with * must be filled in.
Prev:Grinding table for vertical cement mill, large steel casting manufacturer
Next:Influence of heat treatment on Cr2MnSiV wear resistance - analysis by CHAENG
PRODUCTS
CONTACT
- Tel: +8613223717221
- Whatsapp: +8613223717221
- E-mail: casting@chaeng.co
- Skype : GreatWall1958


